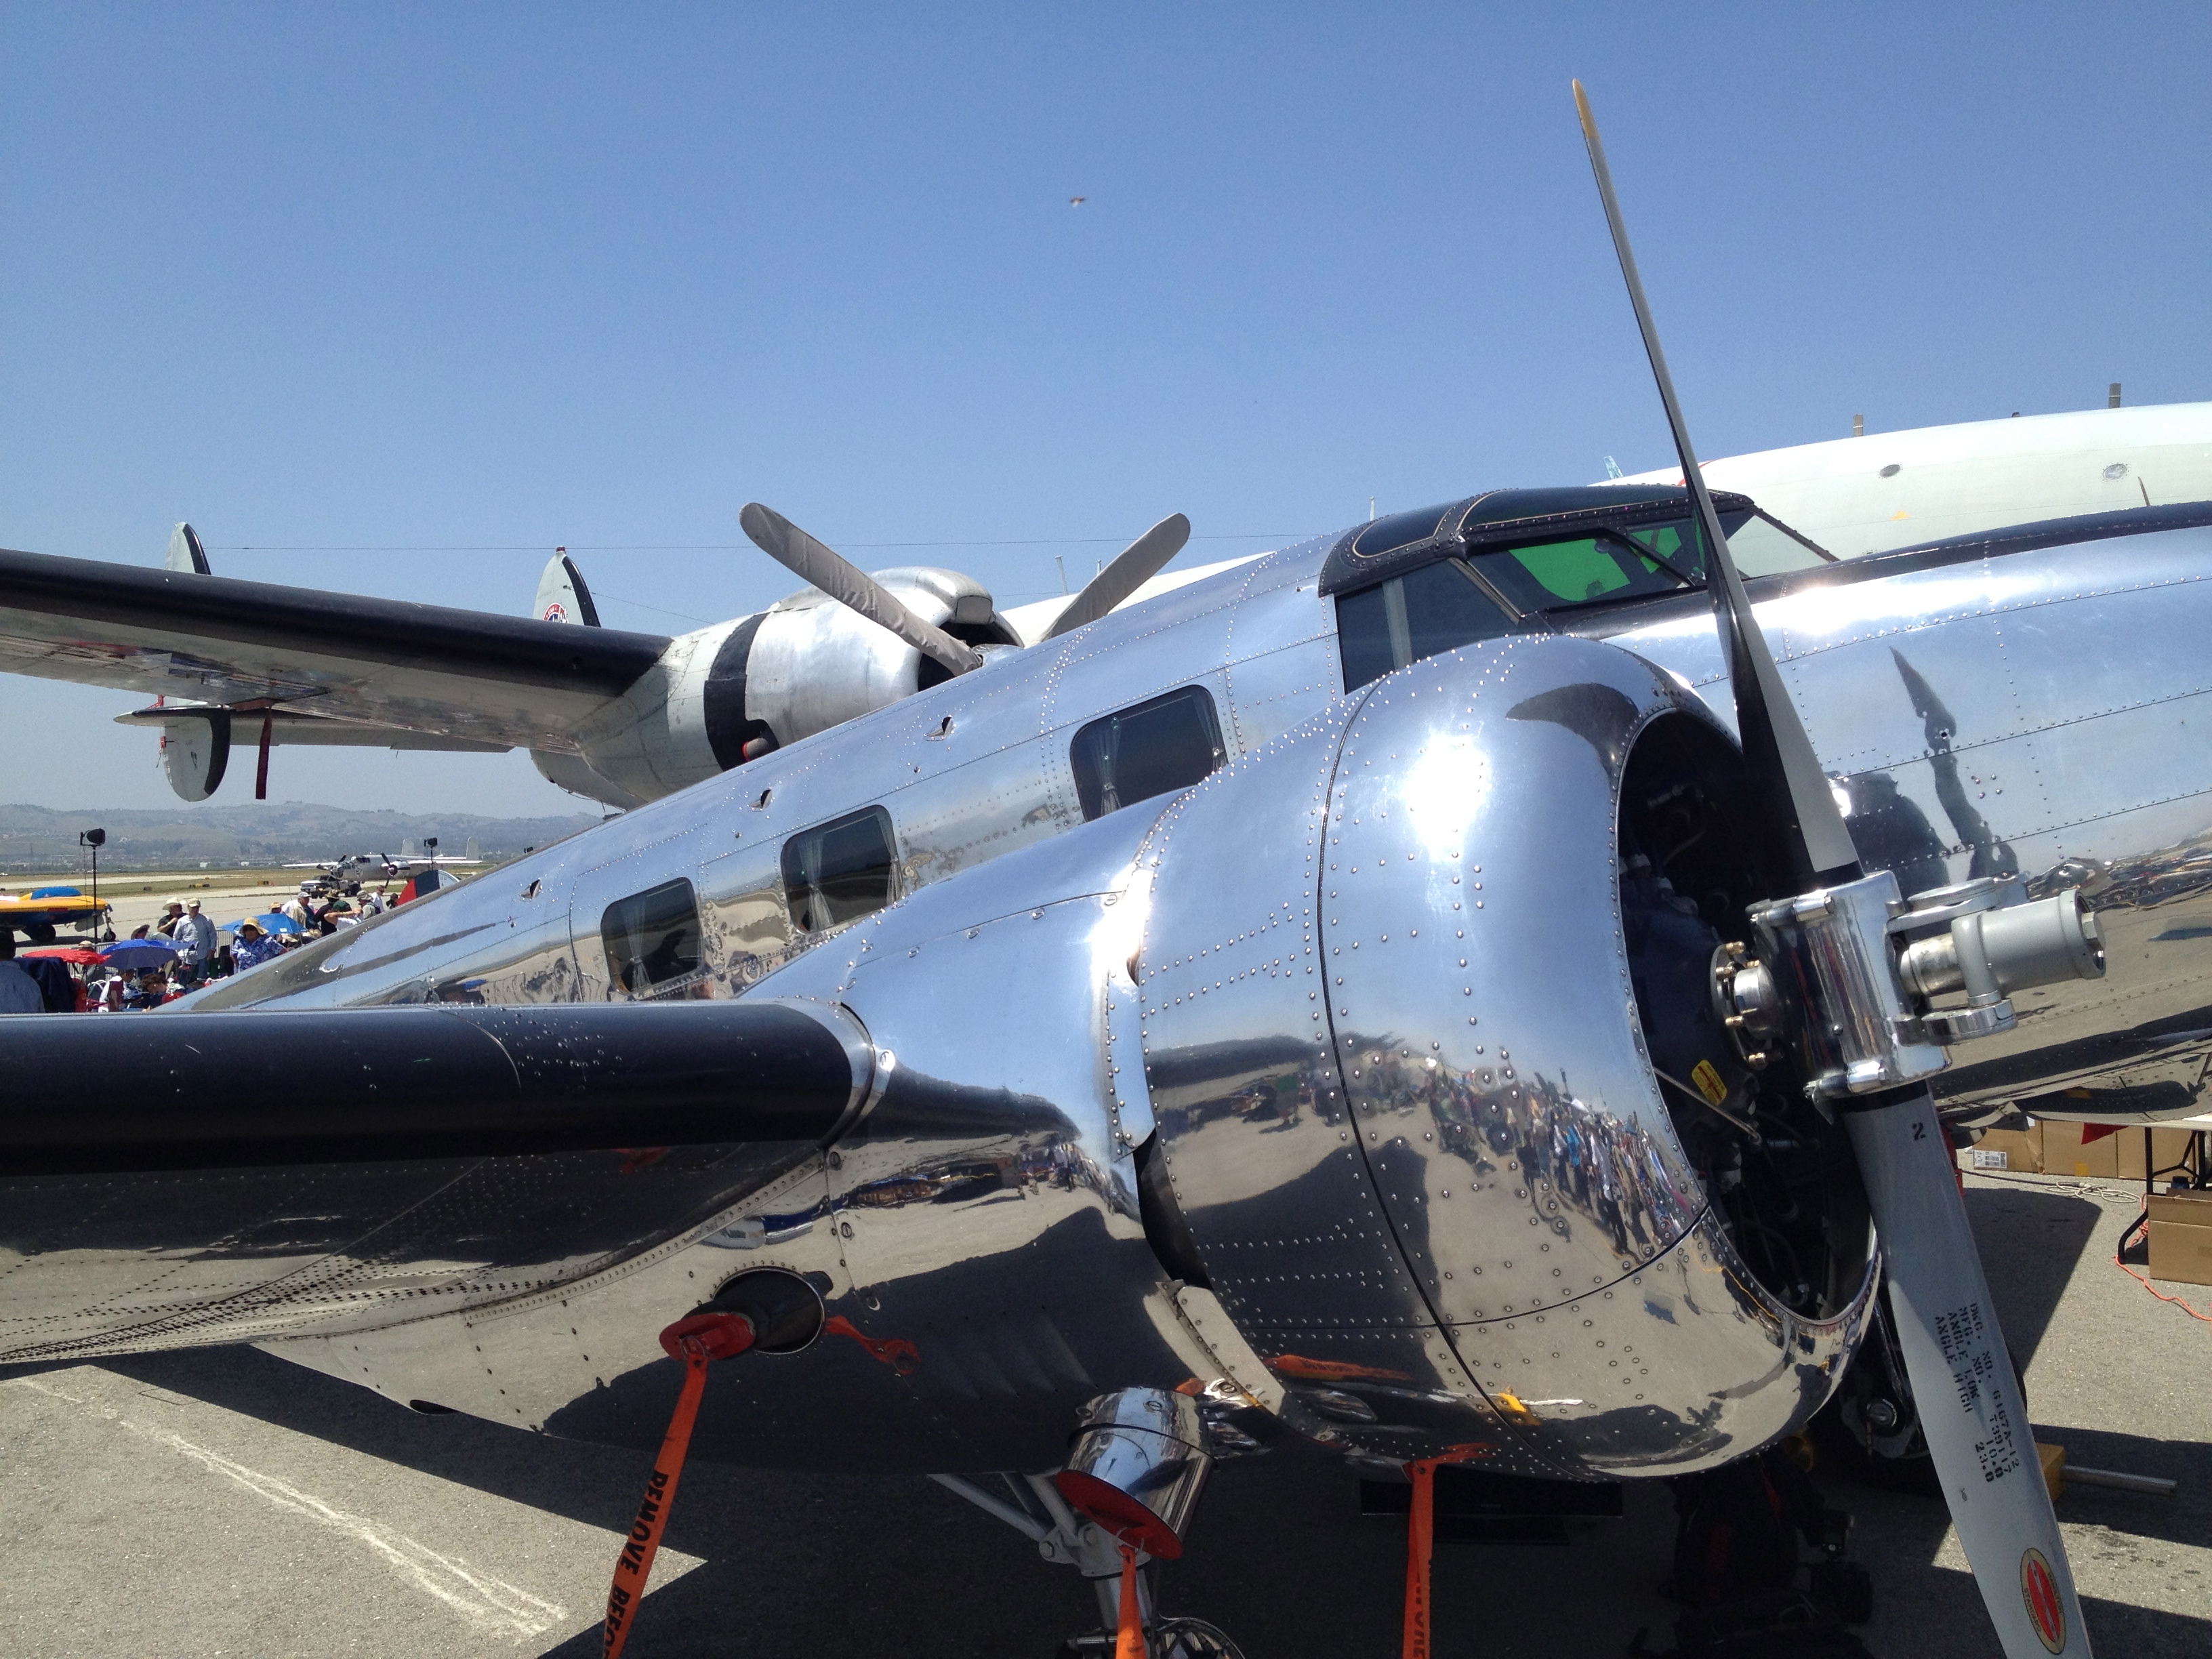
May 2012 – Amazing Wonders Aviation VBS Prop
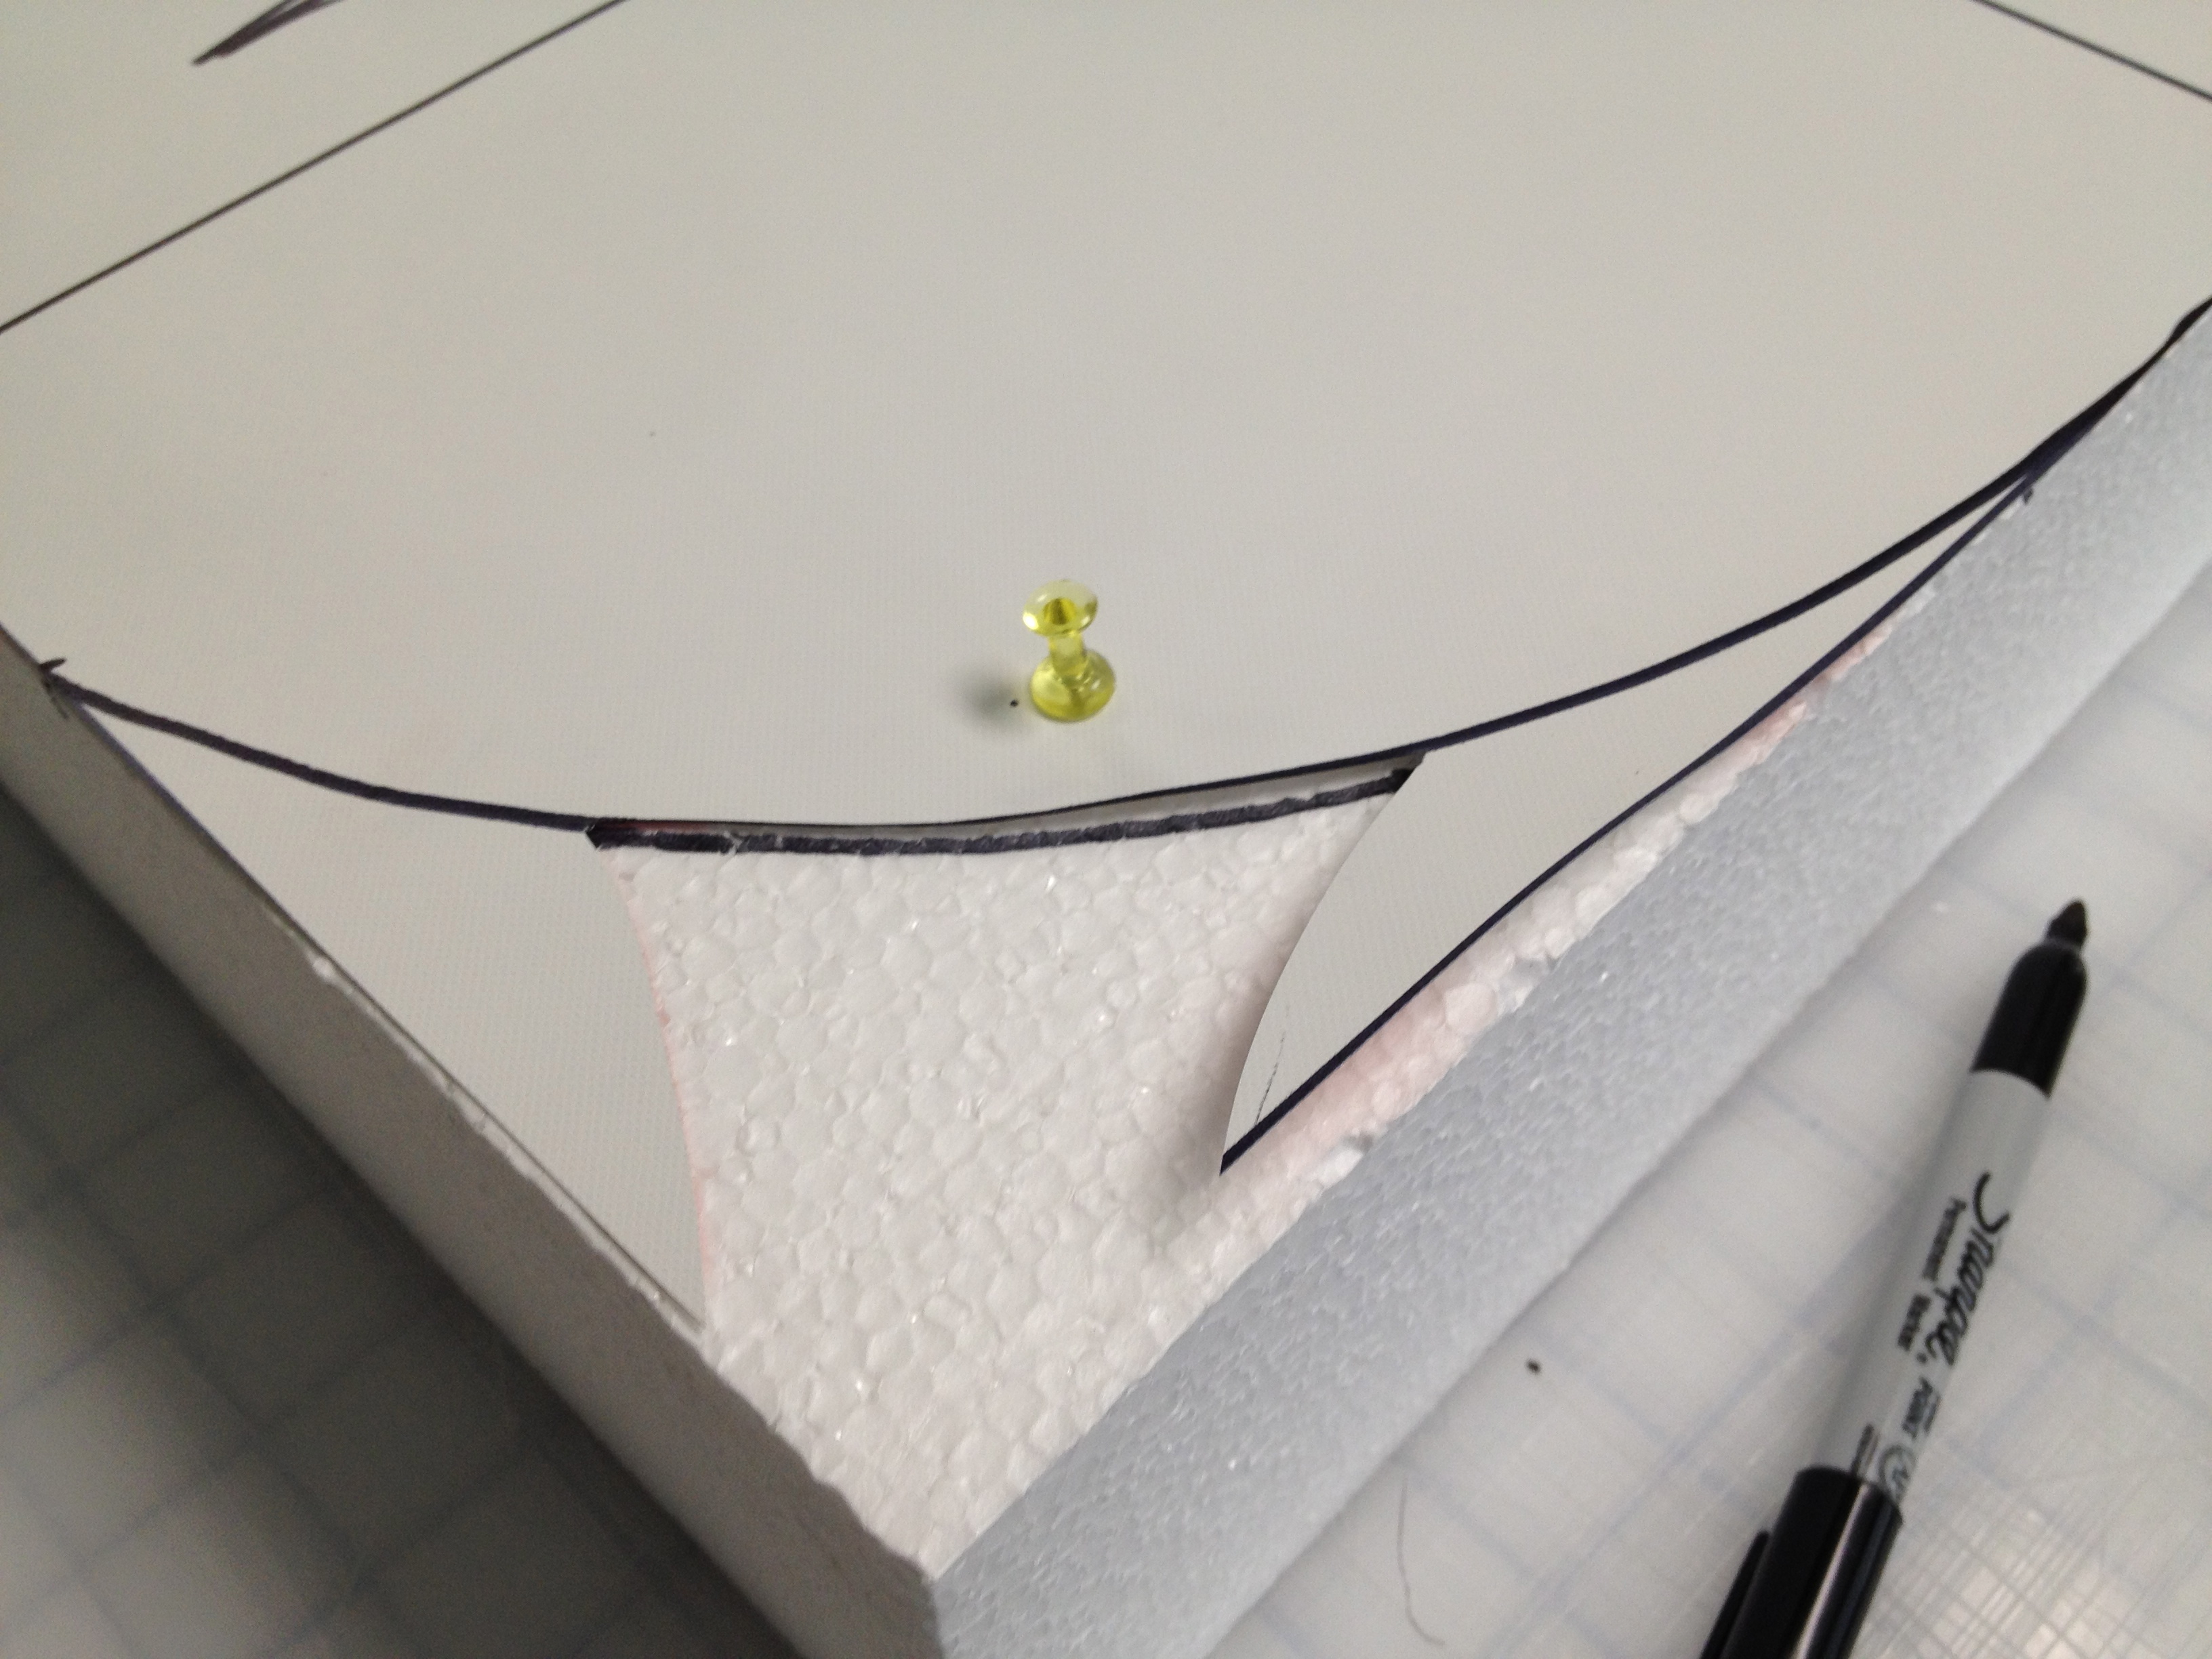
The first piece of Insulfoam I cut out was the two tail fins. This taught me a lot about precision foam cutting techniques. I had to dial in the heat in the cutting blade so that it sliced but did not melt away a half inch gap. The difficulty was that the foam block was 4″ thick and while I traced the outline on one side I could not see if the edge of the knife was following the outline on the other side. I overcame this on my next cuts by having Ben hold the far edge with a pair of lock pliers to guide the cut along the outline. Ben has a great amount of experience in sanding and shaping foam. While his subjects are usually miniature houses and small scale, the same principles apply to large scale. By sanding down the rough block cut we achieved the smother beveled edge look we were going for. I have high hopes that once the foil and metal tape are applied the Insulfoam will look like a metal plane part.


Using an extra block of foam from my Easter Crosses project I made a mock up of the planes skin. I would use an incredibly long roll of 12″ foil, each sheet would be spaced an inch apart to allow contact between the metal plumbers tape, the foam, and the foil. This would bind it all together and by running the sheets in parallel with the structure of the plane it would create the illusion of metal skin.

As I approach the main build I decided to make a scale paper blueprint of the plane. This would allow me to place the integral superstructure inside the drawing and pull wing and tail measurements without converting for scale. I found some extra gray butcher paper in our children ministry closet and began to lay out the plane. First the main body, then each wing, and finally the tail and engines. The mega-blueprint folds up into a nice two foot square.


- Main Body: A six foot wide section of wing containing both engines, this piece will span from the nose of the plane to the cross beam for the tail.
- Tail: The five foot wide tail section will bolt onto the main body.
- Left Wing: A four foot piece of unistrut will be embedded in the wing and have a 1′ overlap with the main body cross beam.
- Right Wing: A four foot piece of unistrut will be embedded in the wing and have a 1′ overlap with the main body cross beam.


Related articles
- Electra-10 Airplane – Part 1 (thecardboardworkshop.wordpress.com)